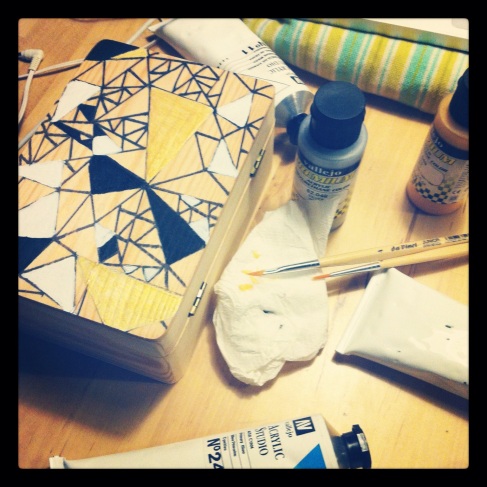
Hello everyone! I’ve needed a new jewelry box for a while, but I didn’t find one that I really liked. So I decided to make my own with a cute geometric pattern! Here it’s the tutorial. I hope you like it!
Step 1
Materials:
You will need:
*Acrylic paint
*Brushes
*A wooden box
* Varnish
* Pencils (one B and one HB)
* A black Sharpie ( regular one)
* A small ruler
* And finally your geometric pattern. I did mine using InDesign and printing it.
Step 2
Use your HB pencil and turn your pattern. Color the area where the pattern is.
Step 3
Once you got you stencil ready you’ll need some tape. I like this Scotch one that isn’t too sticky. That way you won’t have glue over you box.
Step 4
Once you put your stencil and taped it to the wooden box, you’ll need your H pencil and a ruler. Trace the pattern with a nicely sharpened pencil. Remove the stencil when you’re done.
Step 5
Paint the triangles with the colors you’ve chosen. Then when they are all dry use the Sharpie to trace the lines. Finally use some varnish to give it a nice finish. Enjoy your new cute box!!!


Magnifique!
Merci! ❤